
How to choose and launch a React website template
A practical checklist for choosing a Templa template, understanding the source download, making your first edits and checking the build before publishing.
By Templa · · Updated
Start with the deliverable, not only the screenshot
A website template should fit both your business and the way you plan to edit it. A polished preview does not tell you whether the download is a source project, a visual editor project, or a connected application.
Templa's current published catalog is organized React/Vite website source. The downloads are intended for code editing. A template that originated as a Webflow or Framer website is not automatically a project you can open in that platform's visual editor. Check the individual product description before buying.
Match the page structure to your business
Write a short list of the pages and information your visitors need. For an agency, that might mean selected work, service explanations, an about page and a contact route. For software, look for space to explain features and pricing. For a publication, inspect both the article grid and the reading layout.
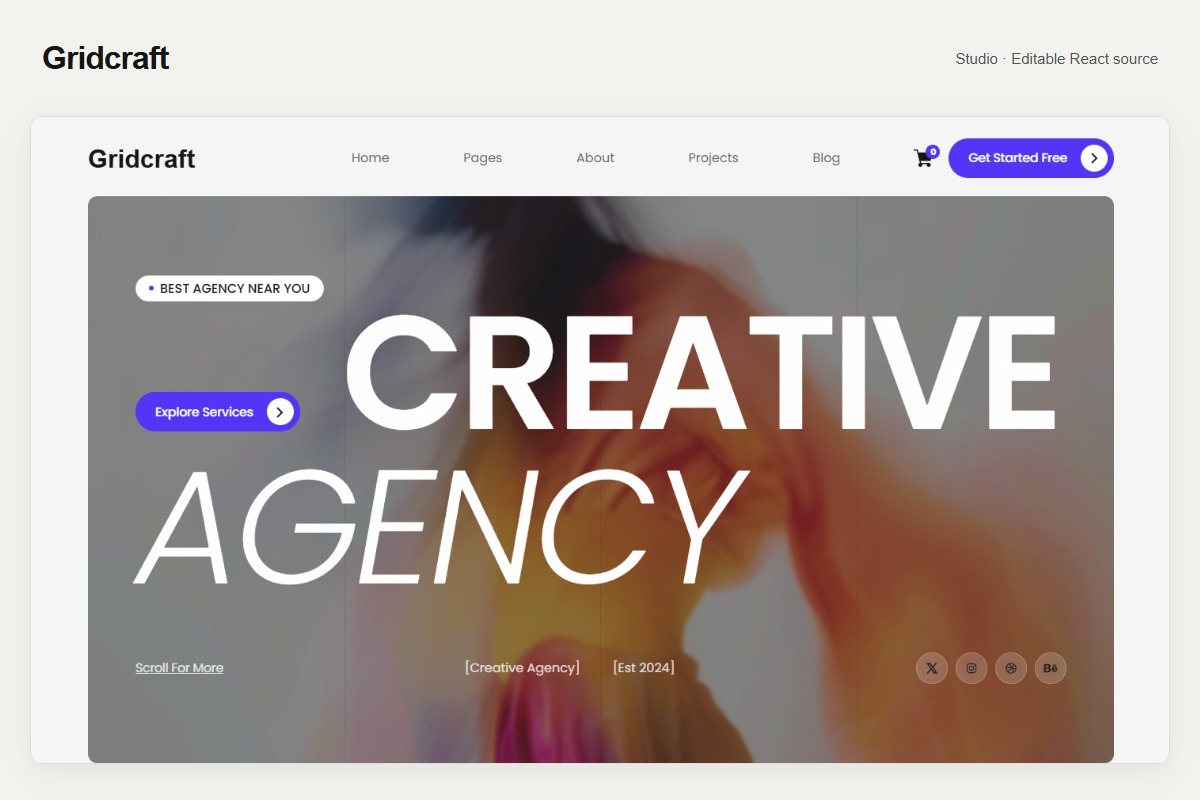
Compare your list with the actual demo. Gridcraft offers an image-led agency presentation. Markwell focuses on a software business, while Margin provides an editorial starting point. These are design choices rather than promises that a CMS, payment system or customer account backend is included.
Open the mobile preview too. Check whether long headings remain readable, navigation is usable and images still communicate the right idea. Replace sample copy mentally with your own: a layout that works with a two-word title may need adjustment for your business name.
Check what you can change
Before purchasing, read the description, technology list and limitations. Look for editable page sections, styles and content files. Check the editing guide language as well: some existing packages include an Arabic guide. Do not assume every package has the same instructions or folder names.
Names, testimonials, figures and offers in a template are demonstration content. Replace them with your own verified information. A contact form's appearance does not prove that it sends messages; an account screen does not create authentication.
Run the source project locally
After downloading your purchased ZIP, extract it into a dedicated folder. Find the folder containing package.json. In a terminal opened in that folder, check the package's README and Node.js requirements before installing dependencies.
The catalog packages inspected for this guide contain these scripts:
npm install
npm run dev
Open the local address printed by the development server. Do not open index.html by double-clicking it: these source projects use a build tool. If installation fails, keep the exact terminal error and check the package instructions rather than changing dependencies at random.
Make a backup before editing. Change one heading and one image first, then confirm that they update in the browser. This small check helps you find the correct content and media files before making extensive changes.
Customize content before fine-tuning motion
Start with your business name, page titles, service descriptions, contact details and main calls to action. Replace demo legal pages with policies that reflect your business. Connect any required forms, CMS, authentication or payments separately.
Next, check image crops on both a narrow and a wide screen. Keep filenames and references consistent when replacing local assets. Test menu links, project links and article links after changing page paths.
Treat animation as part of the reading experience. Check that content remains visible, navigation works and visitors can reach every section. Preserve existing accessibility and reduced-motion behavior when making changes.
Build and verify before publishing
The inspected packages also include build and preview scripts:
npm run build
npm run preview
Some packages add route-generation steps to their build script. Use the package's complete script instead of replacing it with a shorter command.
Vite normally writes the production build to dist. Its preview command is for checking that build locally; it is not a production hosting service. Confirm the actual output directory in your package configuration before uploading anything.
Test more than the homepage. Open an inner page directly and refresh it, check local assets, and verify the navigation on your chosen host. Hosting at a subdirectory can require a different asset base. Follow the package instructions and the host's routing requirements.
A practical buying checklist
- Does the demo have the page types your business needs?
- Are you comfortable editing React source, or will a developer help?
- Have you read the package limitations and guide language?
- Have you checked the mobile layout with your likely content length?
- Do you know which integrations you will need to supply?
- Can you build and test the project before publishing it?
If you need help choosing or adapting a template, contact Templa with your intended pages and editing workflow. For implementation help, explore custom services. Start with a clear brief so the recommendation matches your project rather than only your preferred screenshot.